Invitations
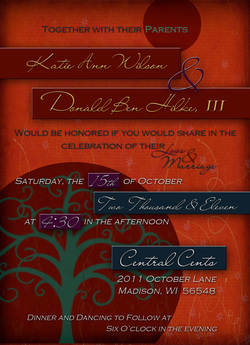
Here are the Invitations that I designed. I designed it all in Photoshop.
They will be a 5x7 flat card.
They will be a 5x7 flat card.
 Front of Invitation Response CardThis is the response cards that I designed. They will be 4x6 postcards. I am putting everything into pocket folds that I am making myself.
|
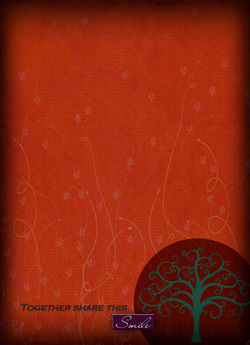 Back of Invitation |
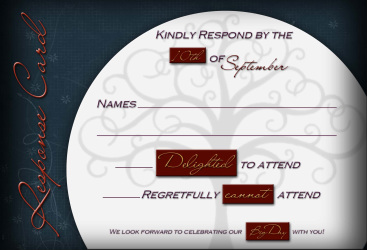 Response Card Front |
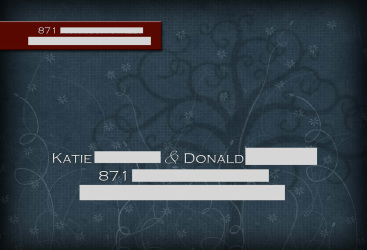 Response Card Back |
Pocket Folds

This is what I ended up doing for the pocket folds.
I didn't use a template, I just figured it out. It's just an 8x10 piece of metallic paper cut & folded.
I wrapped it with blue ribbon and printed the tree and cut them out with a punch.
I added a little touch by cutting the edge with some scrapbook scissors.
I didn't use a template, I just figured it out. It's just an 8x10 piece of metallic paper cut & folded.
I wrapped it with blue ribbon and printed the tree and cut them out with a punch.
I added a little touch by cutting the edge with some scrapbook scissors.
Envelopes

The envelopes are metallic blue with a wrap around label that I designed in photoshop. With a return label on the back.
I used a Xryon machine to stick them. It took 4 cartridges for 70 invites.
I used a Xryon machine to stick them. It took 4 cartridges for 70 invites.
Activity Book for Kids
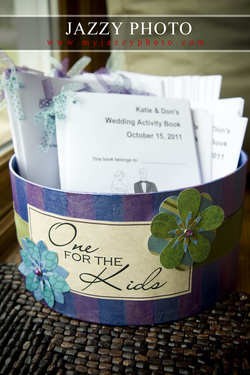
I created an activity/coloring book for all the kids at the wedding.
I used some templates from other Knotties.
And then I used this website to make the crossword. http://www.discoveryeducation.com/free-puzzlemaker/?CFID=11294184&CFTOKEN=44100307
I got them printed online for about $20 and then I just used a hole punch to put two holes in each corner and then tied them with ribbon.
The round container came with my card boxes. It was a set of round boxes stacked together. So I am trying to use up the rest of the different sizes.
Below is the document file for the Activity Book, if you would like to use it to start with.
| activitybook.doc |
For the Crayons
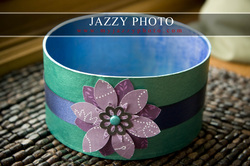
This a smaller box that I painted and will put the crayons in for the activity books. I haven't found the best price for crayons yet, but this is what they will go in.
Programs
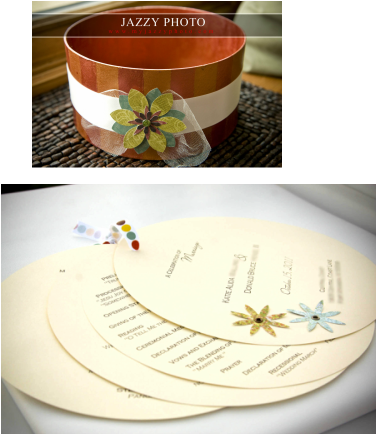
I used my last box to put the programs in. I have no idea if they will all fit, but I will try.
I can't do the programs yet, because I don't know what they will say.
But I do know they will be round and a 3 page fan.
I did make them 4 pages in a circle cut.
I designed them in Photoshop and then had them printed at Staples on ivory card stock. I had a coupon and it came to $35. I bought a circle cutter and cut them individually. Punched a hole in them and tied a ribbon.
I then added a couple of flowers using scrapbooking brads.
It was very time consuming. I made 75 programs for 150 guest list and I still had some left over.
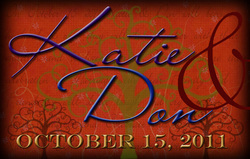
Save the Date
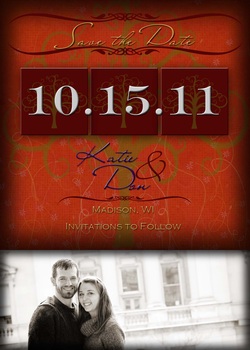
I design everything in Photoshop.
Being a photographer, that's what I know best.
I know other people have used other programs.
This was not as easy as it looks.
The tree in the background was the biggest challenge. (you can't see it that well here)
I couldn't find a tree brush online exactly how I wanted so I had to make my own.
I found a stamp at Hobby Lobby that was perfect so I bought it.
Stamped it. Scanned it in. And then made a Photoshop brush from the scan.
I emailed our save the date images with our wedding website instead of mailing them. I'm on a budget and didn't want to pay for postage or printing.
I will mail our invites though.
(it did have our last names, but I took them out for this purpose)
Logo
I started out with the wedding logo.
Not really sure what I will do with it, but it started our whole design theme.
I do want to have a photo booth at the wedding.
And then our logo will go at the bottom of the photo strip.
Not really sure what I will do with it, but it started our whole design theme.
I do want to have a photo booth at the wedding.
And then our logo will go at the bottom of the photo strip.